

Lassen Sie sich alle Ihre individuell erstellten mehrfachen Timelines parallel anzeigen. Wie das geht, das lesen Sie in diesen Kapiteln:<\/p>\n
- \n
- Phasen in einer MS Project Timeline darstellen<\/a><\/li>\n
- Meilensteine in einer zweiten Timelind anlegen<\/a><\/li>\n
- Ausgew\u00e4hlte Vorg\u00e4nge in einer dritten Timeline<\/a><\/li>\n
- Anpassen und weiterverwenden der mehrfachen Timeline<\/a><\/li>\n
- Zusammenfassung<\/a><\/li>\n<\/ul>\n
Legen wir los!<\/p>\n\n
\n \n
 \n <\/a>\n <\/p>\n \n
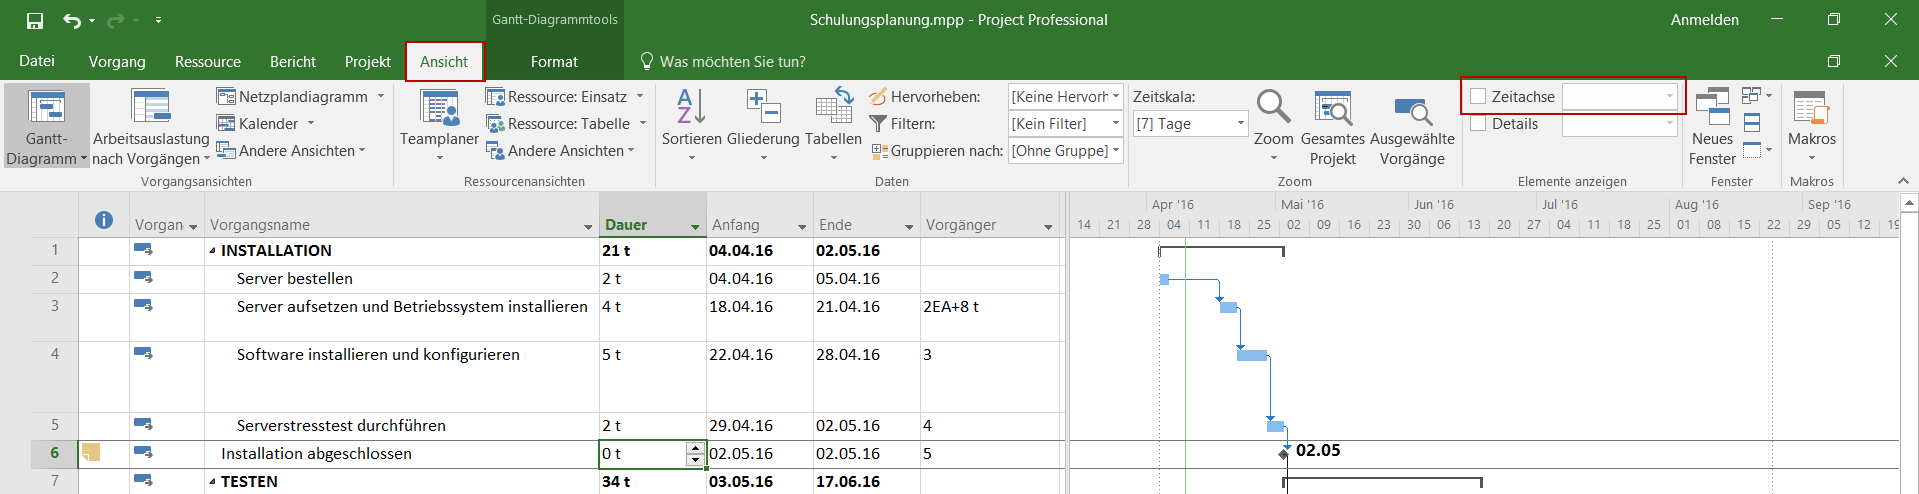
Wenn die Timeline in Ihrem Projektplan nicht angezeigt wird, aktivieren Sie sie unter Ansicht-Zeitachse<\/em>.<\/p>\n
 <\/a>
<\/a>Bild 1: MS Project Timeline aktivieren<\/figcaption><\/figure>\n Phasen in einer MS Project Timeline darstellen<\/h2>\n
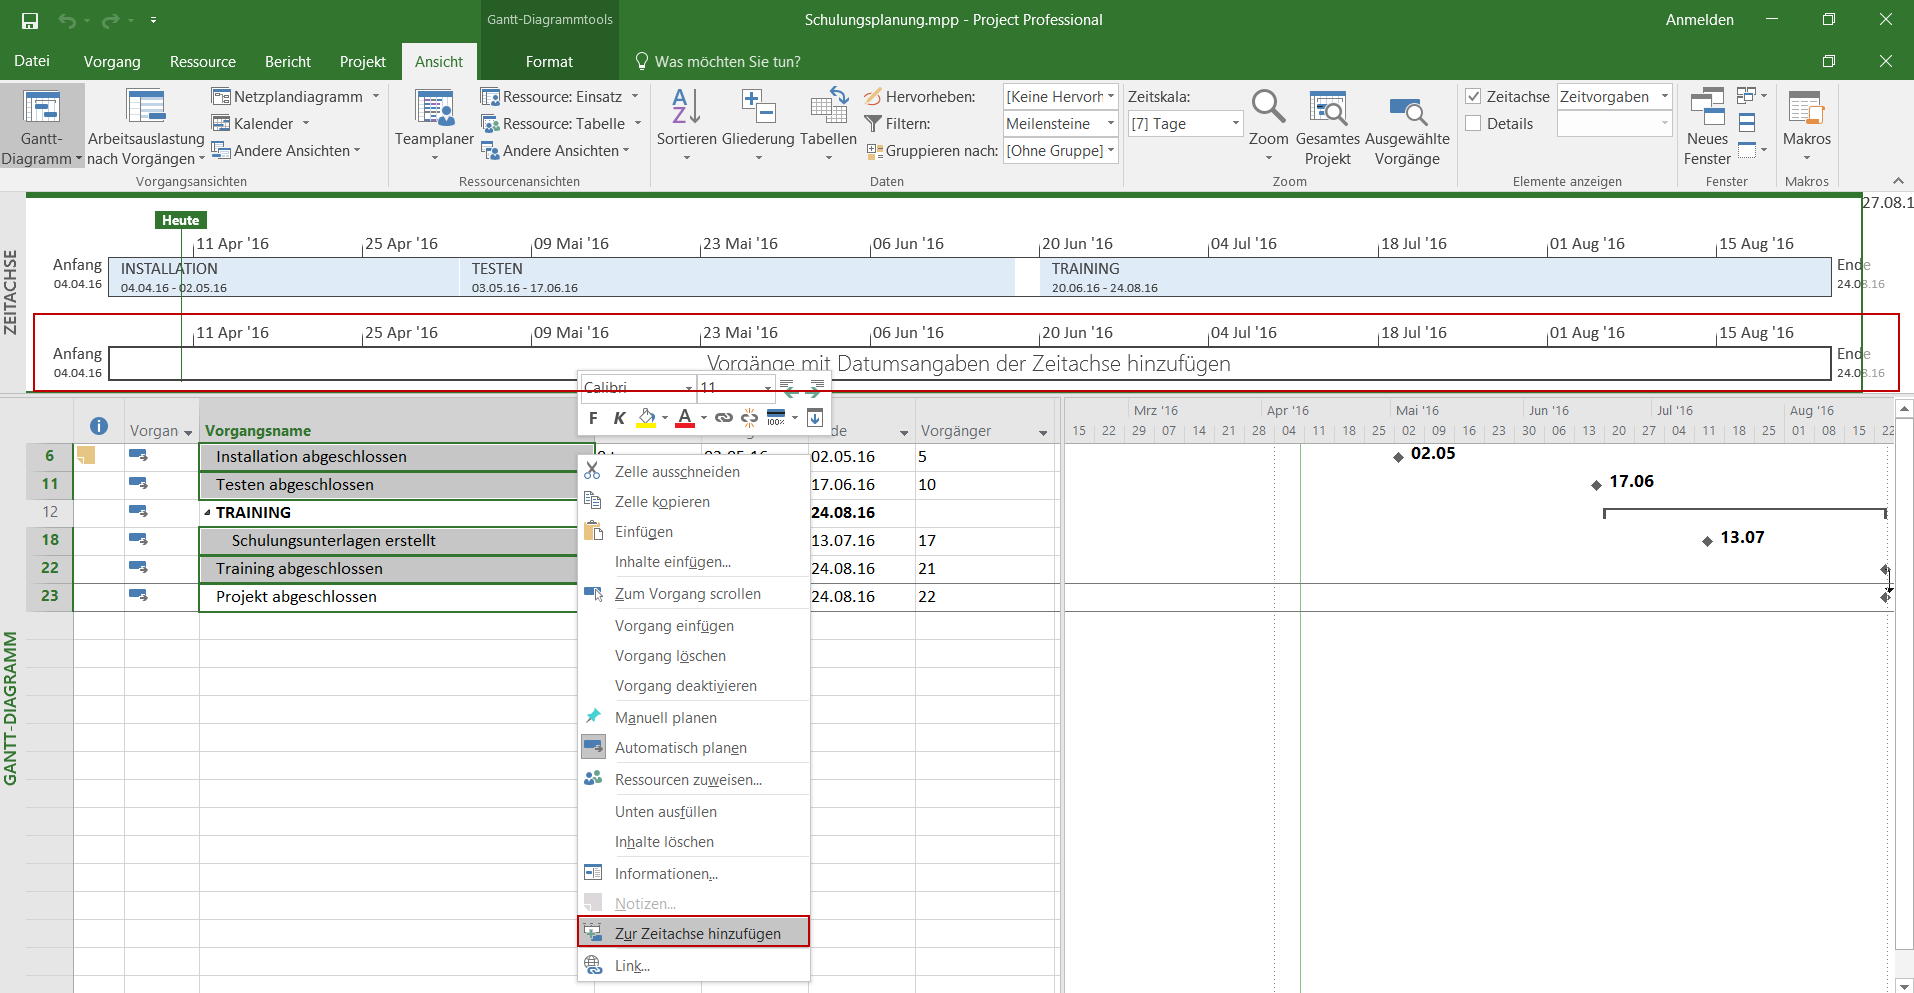
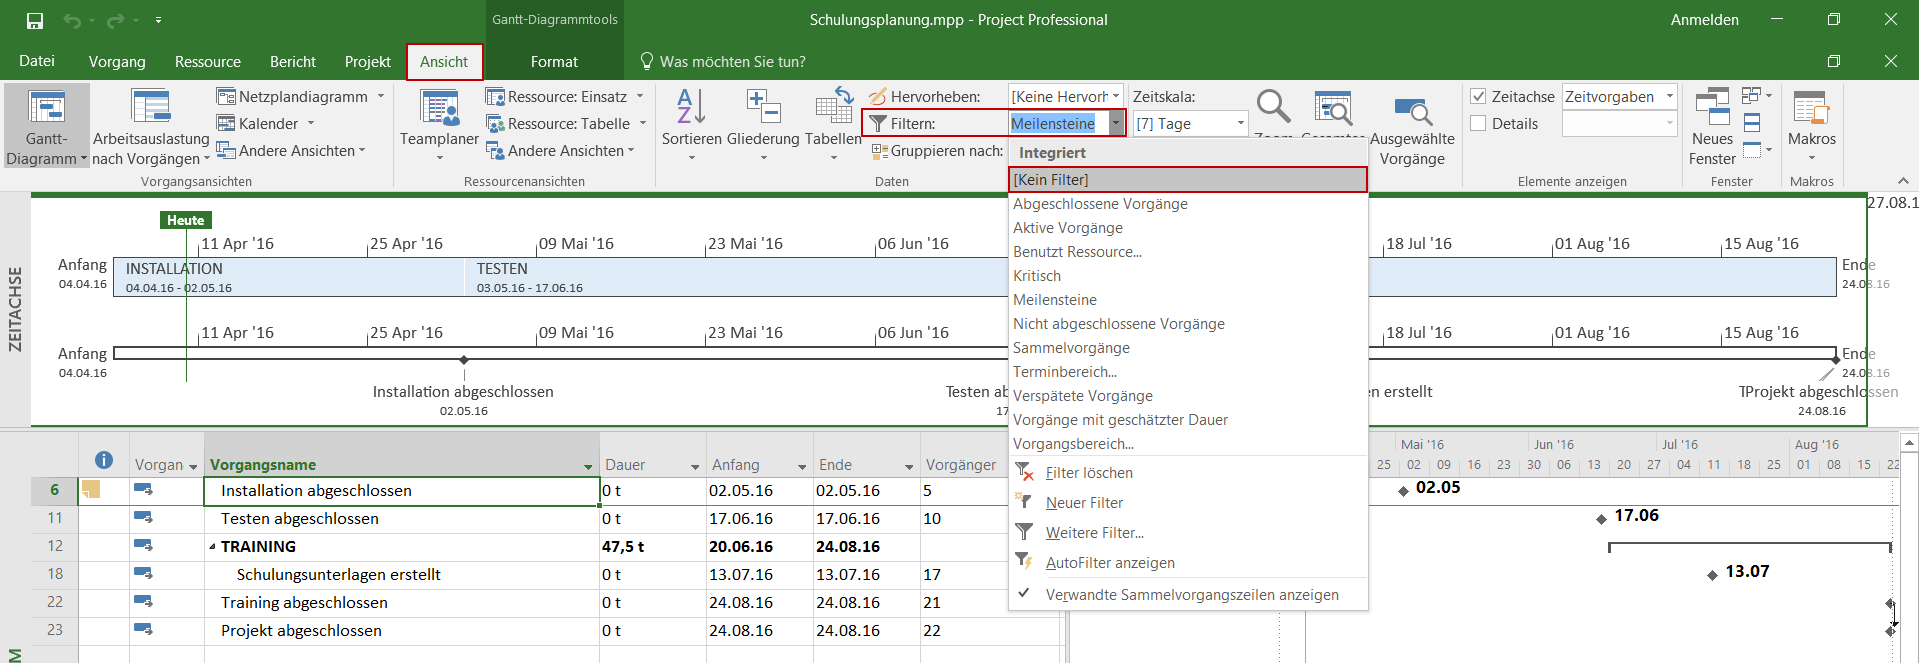
Markieren Sie im ersten Schritt die Phasen, die Sie der ersten Timeline hinzuf\u00fcgen m\u00f6chten. Klicken Sie danach mit der rechten Maustaste auf einen der selektierten Vorg\u00e4nge, um das Kontextmen\u00fc zu \u00f6ffnen. Klicken Sie auf den Eintrag Zur Zeitachse hinzuf\u00fcgen<\/em>.<\/p>\n
 <\/a>
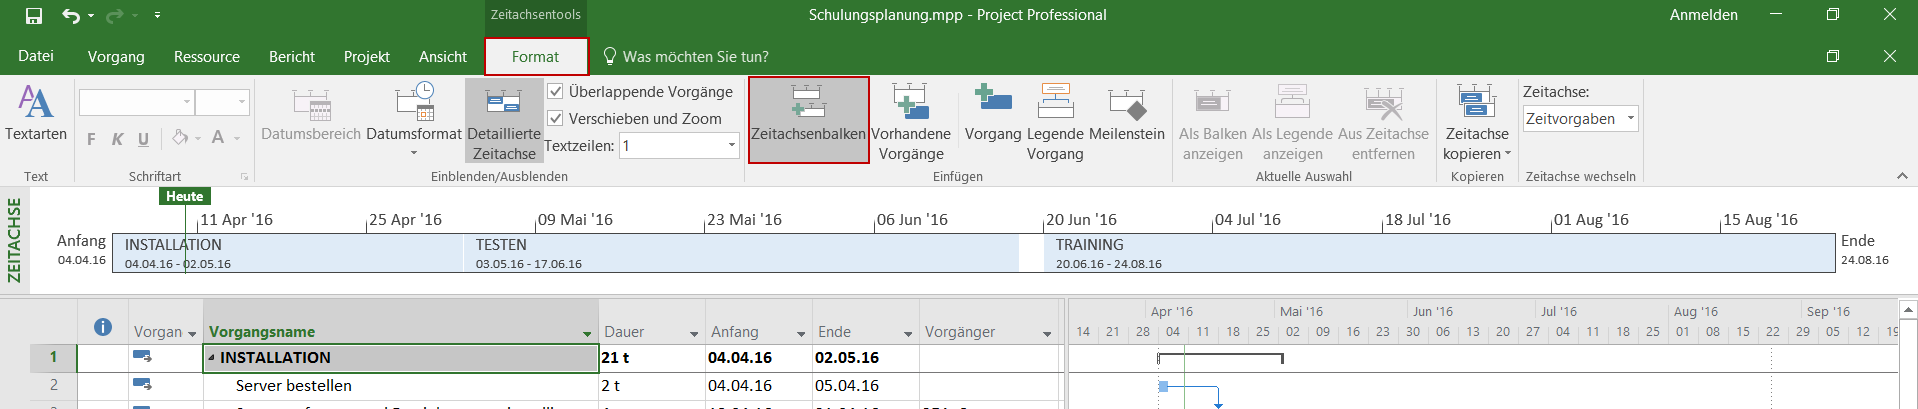
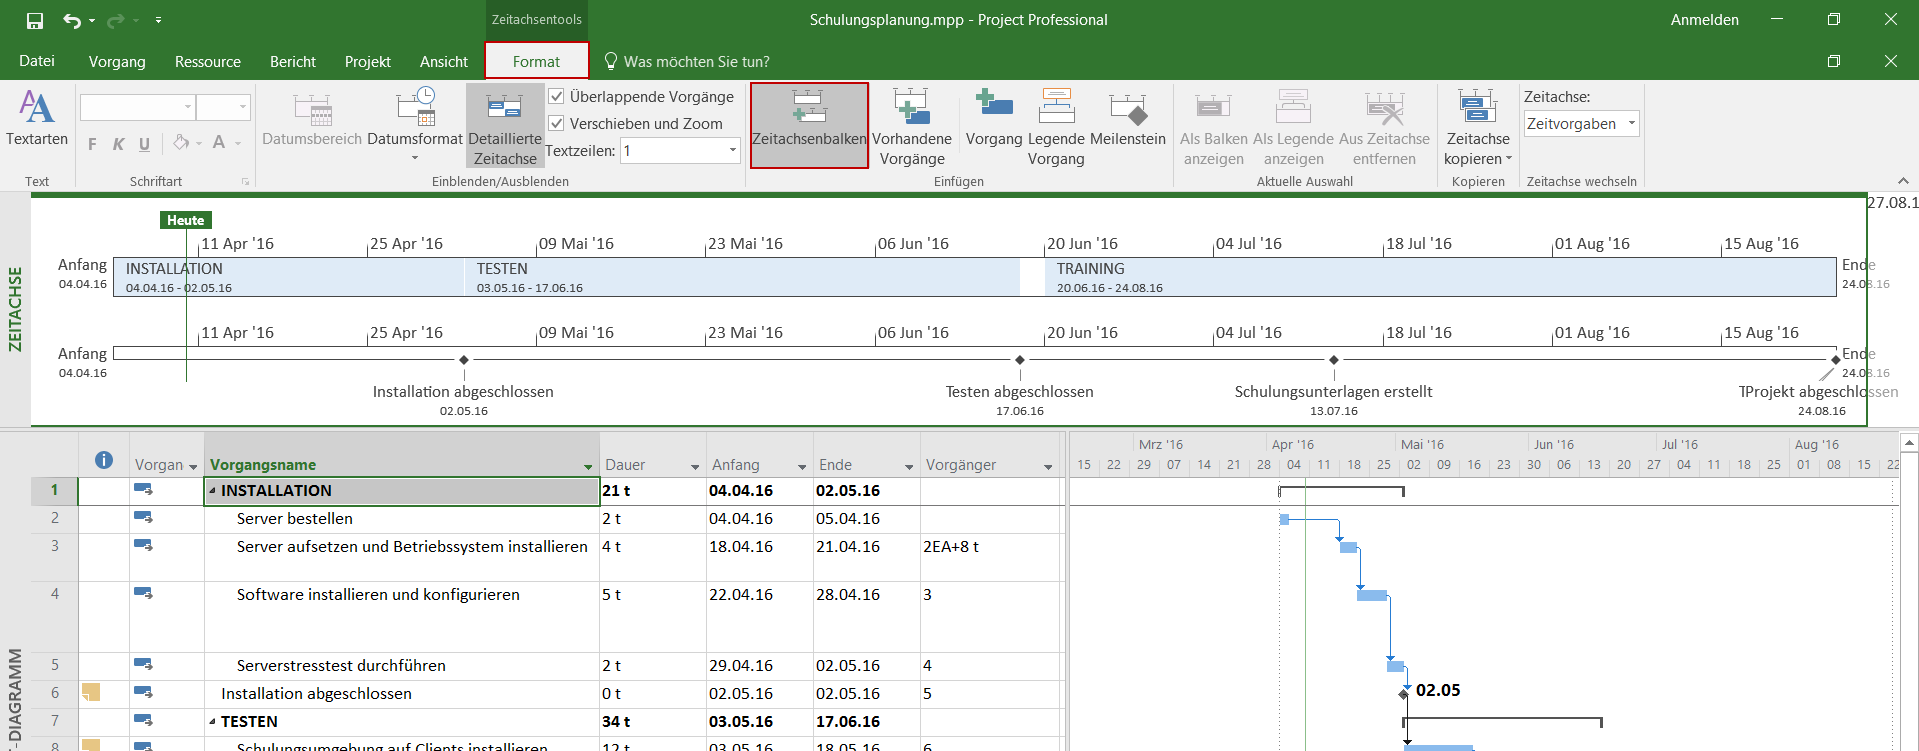
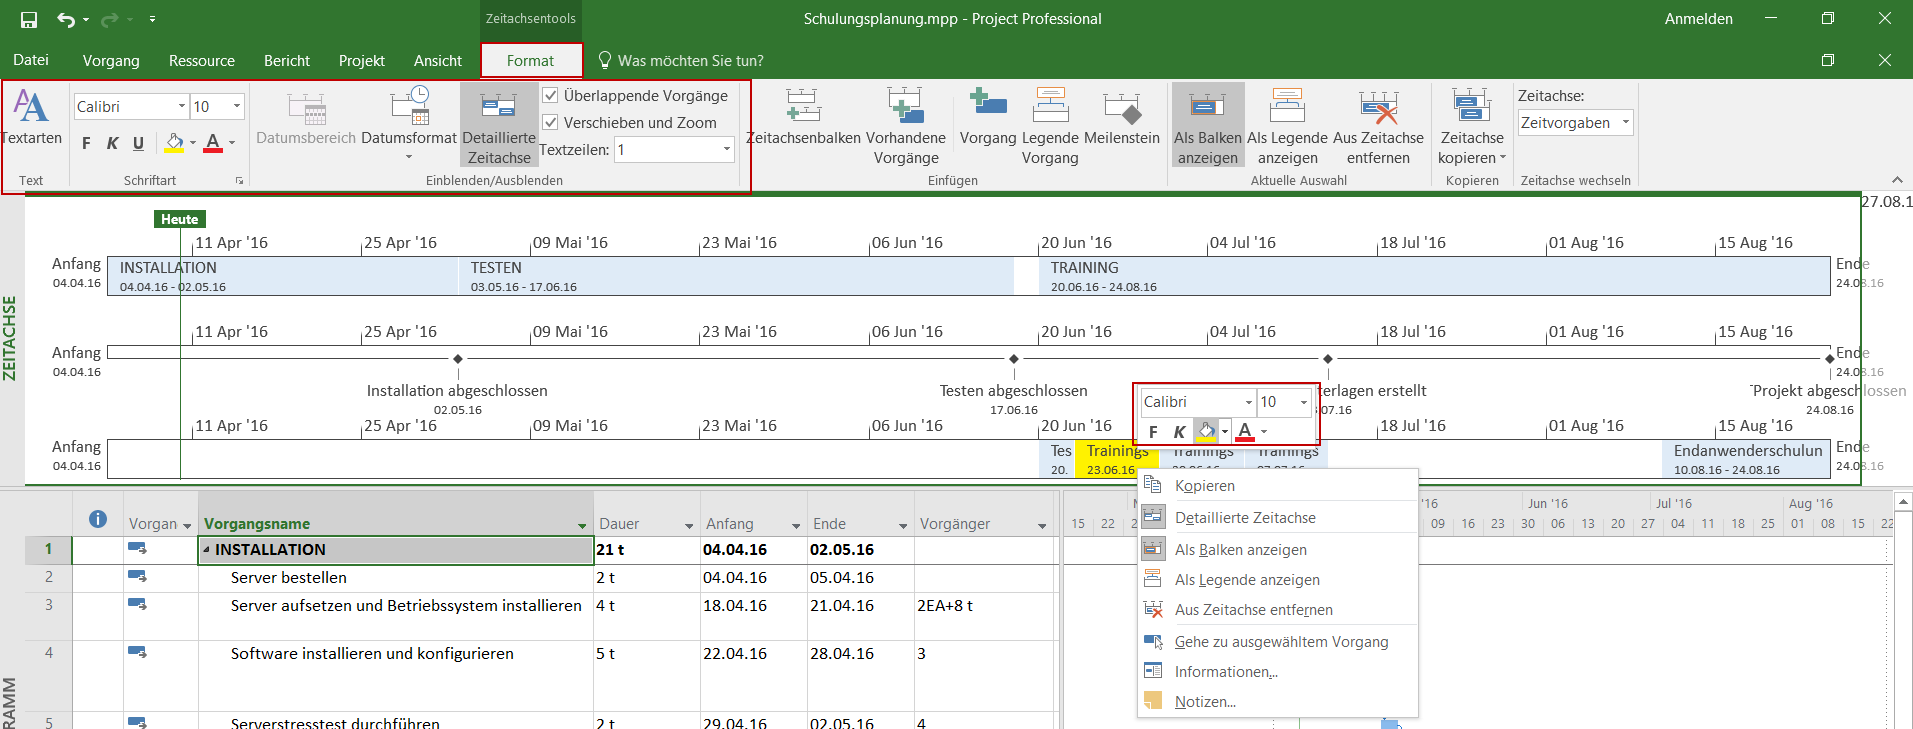
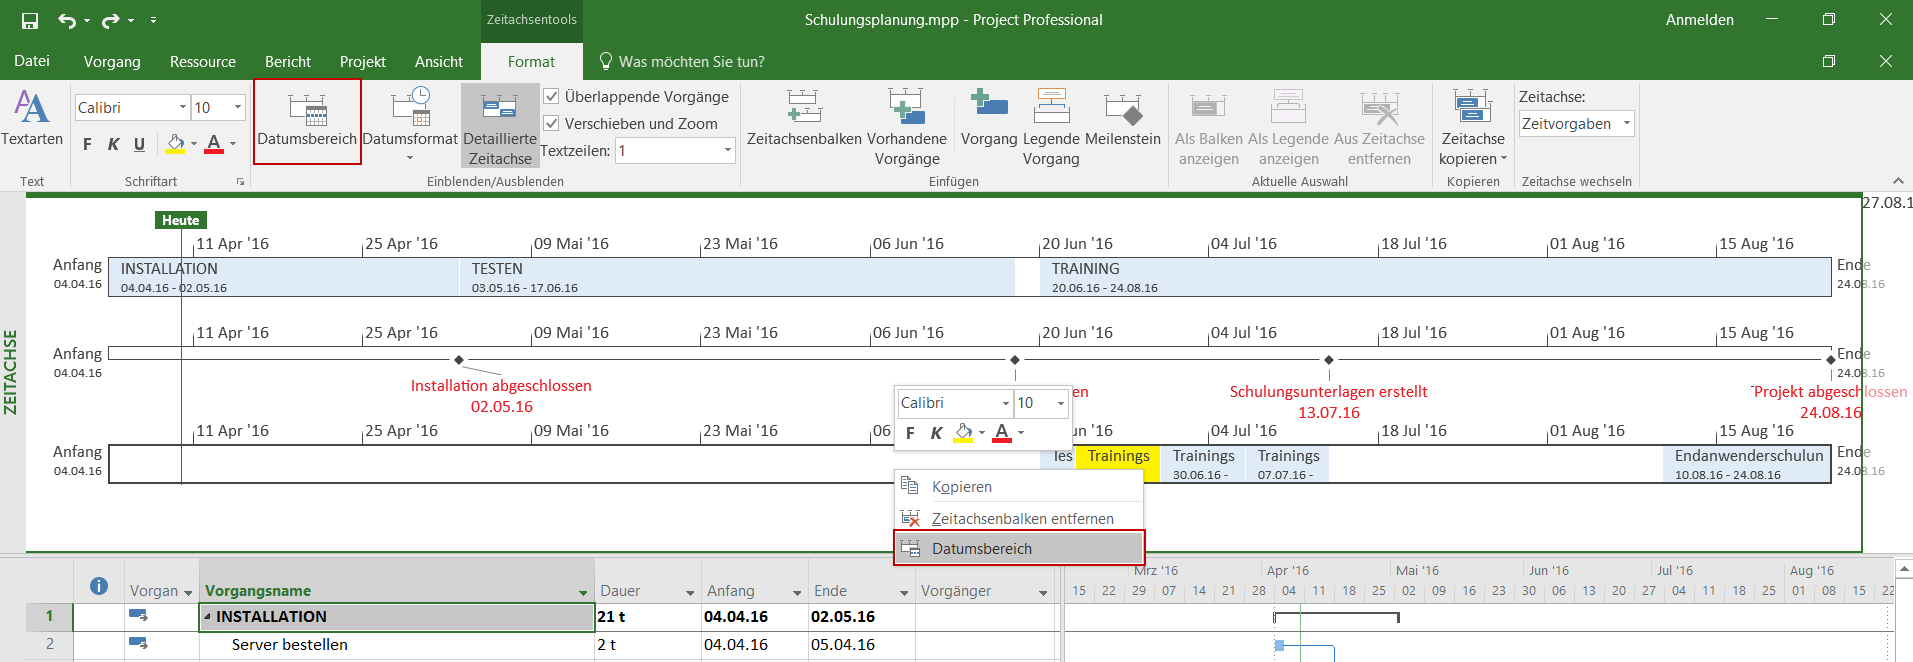
<\/a>Bild 2: Vorg\u00e4nge mit dem Kontextmen\u00fc der Zeitachse hinzuf\u00fcgen<\/figcaption><\/figure>\n Um eine zweite Timeline hinzuzuf\u00fcgen, klicken Sie in den Zeitstrahl. Damit wird das Men\u00fcband f\u00fcr die Einstellungen der Timeline angepasst. Erstellen Sie einen zweiten Zeitstrahl \u00fcber Format – Zeitachsenbalken.<\/em><\/p>\n
 <\/a>
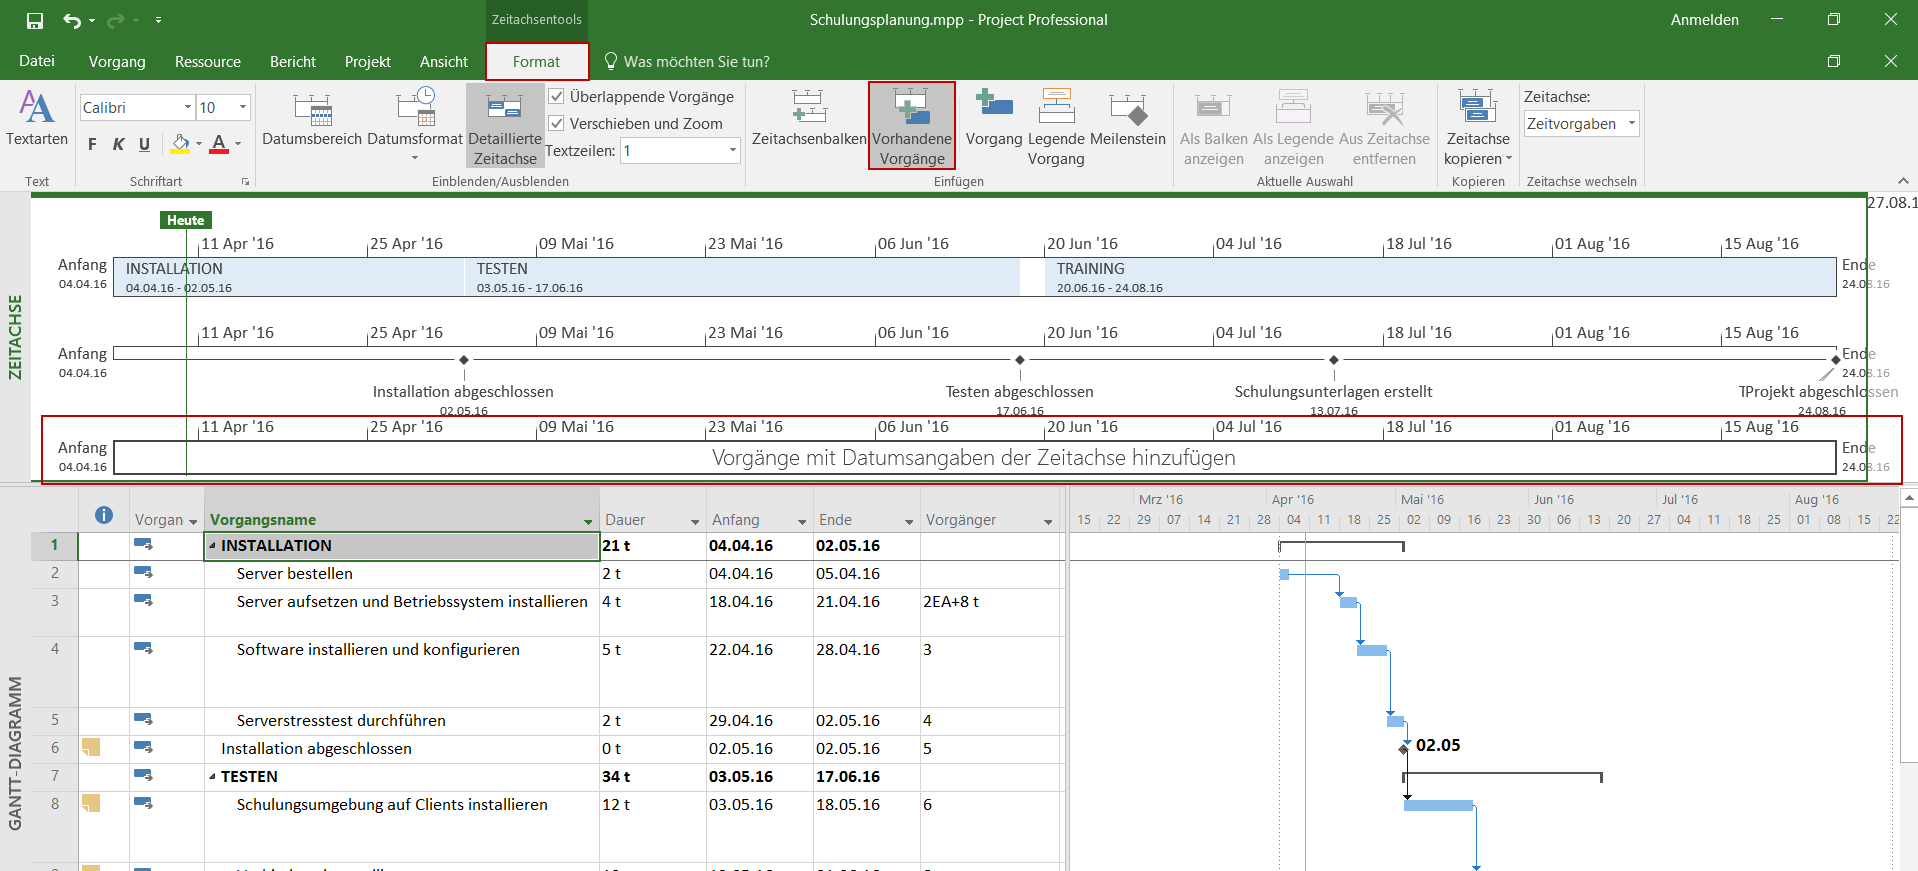
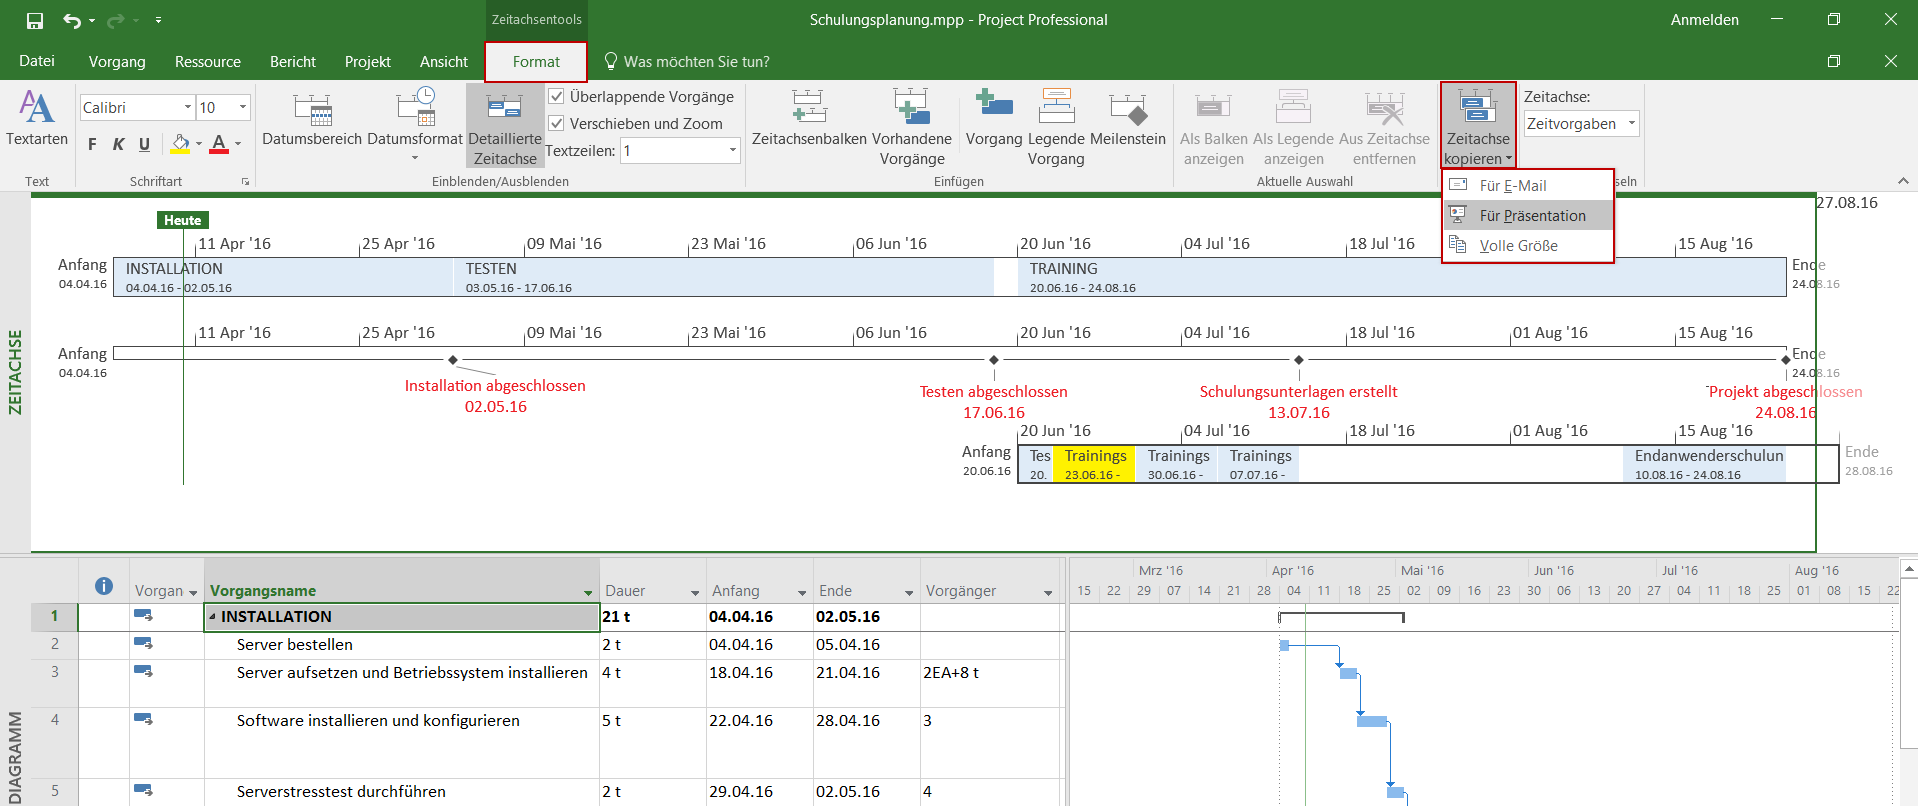
<\/a>Bild 3: Zeitstrahl erg\u00e4nzen<\/figcaption><\/figure>\n \n\n\nDownload (PDF):<\/strong> 11 Schritte zum optimalen MS Project Projektplan (Tutorial)<\/p>\n <\/div>\n
\n - Meilensteine in einer zweiten Timelind anlegen<\/a><\/li>\n